HAPPY HALLOWEEN!!!
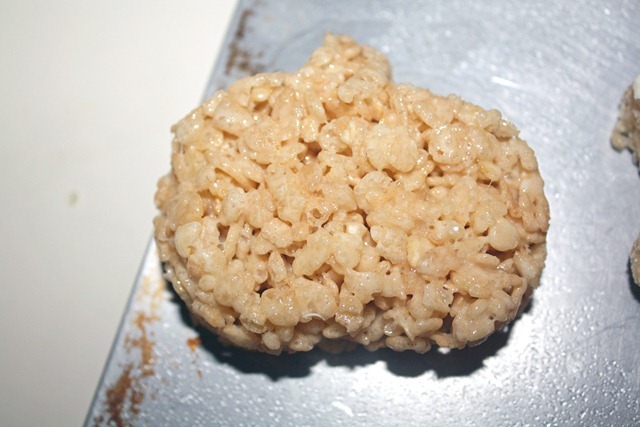
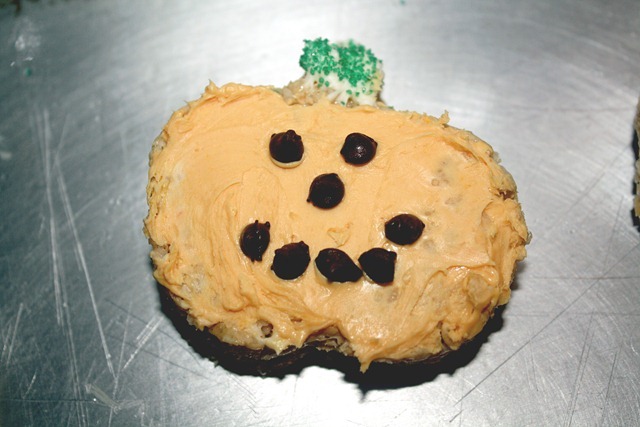
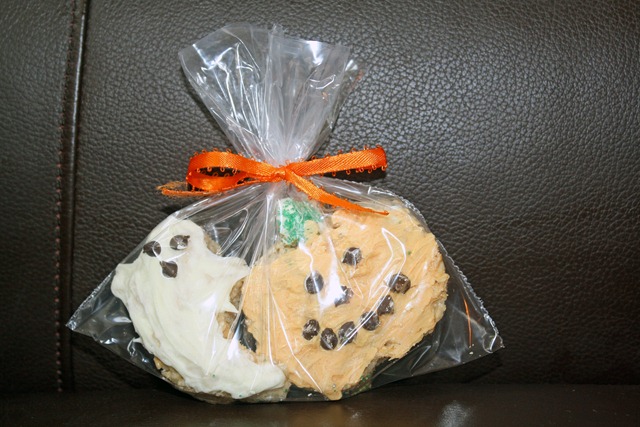
My daughter had a Halloween party at pre-school today, and she had to bring treats to share with her friends. Yesterday we got to work, and made this fun treat! They are white chocolate covered rice krispy treats – ghost and jack-o-lanterns. 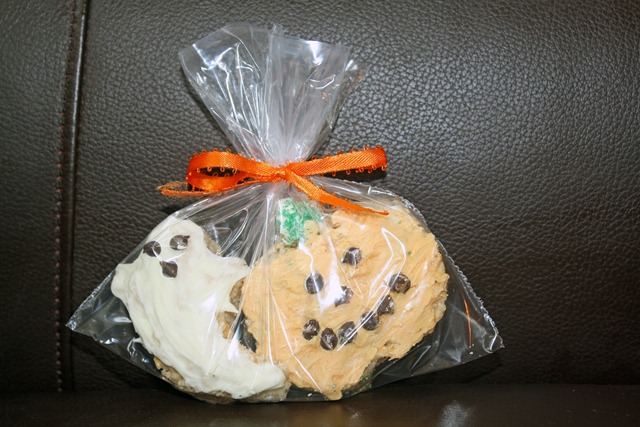 Ingredients:
Rice Krispy’s
1 bag mini Marhsmallows
Butter
White Chocolate – I just used white Chocolate Chips
mini chocolate chips
Cookie Cutters
Instructions:
-Make rice krispy treats. I followed the instructions on the box.
-Use cookie cutters to cut out shapes.
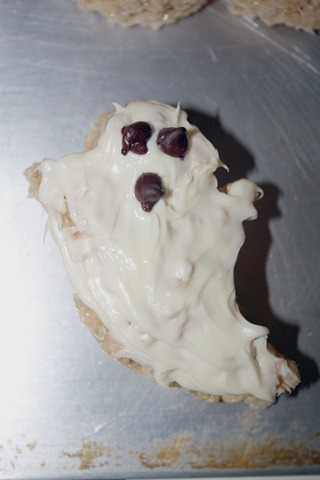
-Melt White Chocolate
-Cover one side of the Rice Krispy treat.
-decorate with mini chocolate chips.
-note: Once I added the orange food coloring to the white chocolate, it started to get hard. I’d probably buy orange colored chocolate next time.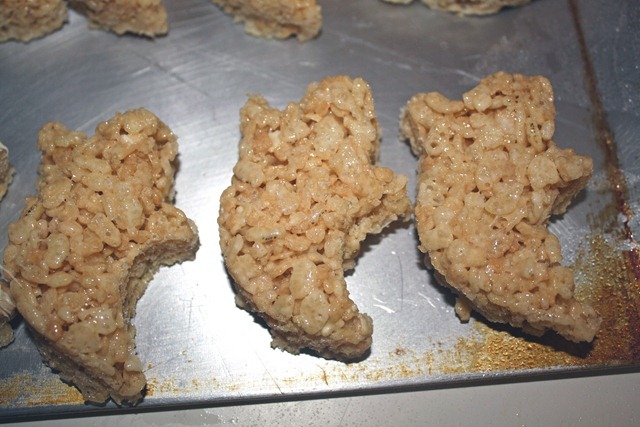
Monday, October 31, 2011
Halloween Treat…
Thursday, October 6, 2011
Felt Wreath…
I’ve seen these all over craft blogs and Pinterest that I decided it was finally time to make one. I am in LOVE with it! Run to the store to make this…you won’t regret it! I chose cream, because it was functional for all holidays. I can change the ribbons out, or add embellishments if I want too. 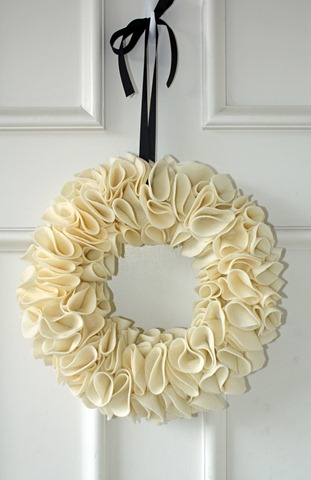
Materials:
3/4-1 yard felt color of your choice (make sure you buy it on the bolt. It is a lot better quality.)
Foam wreath
Straight pins
1. Start by finding a circle size you like. I used a big mug.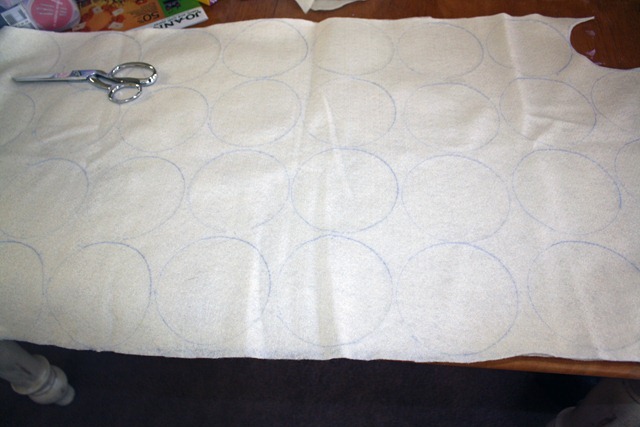 2. Cut out lots and lots of circles.
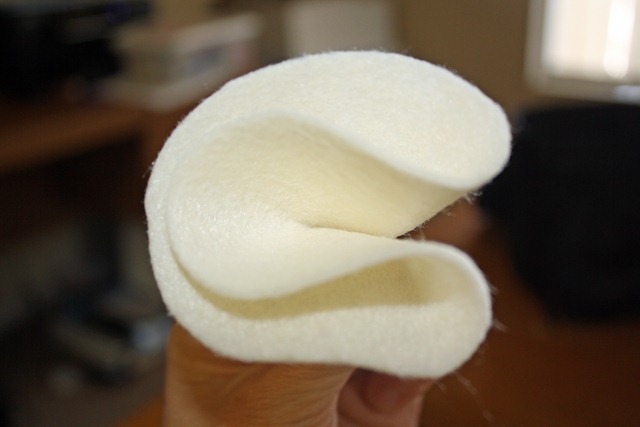
 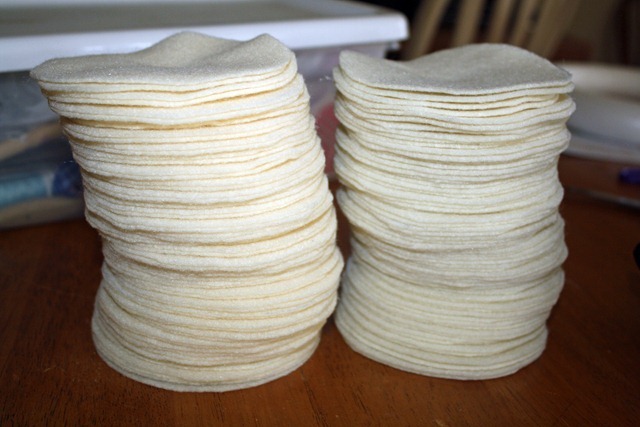 3. Fold each circle into 4ths.
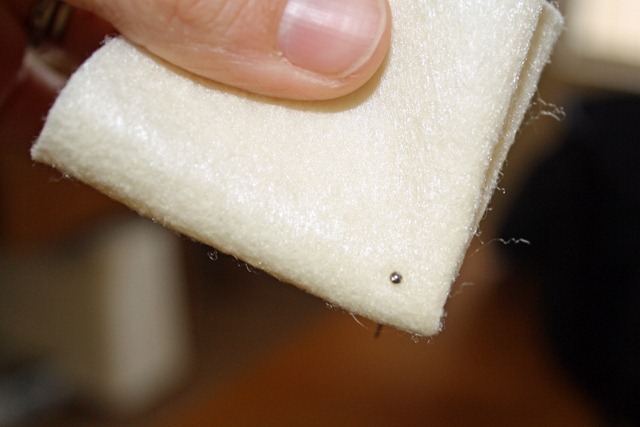
  4. Put straight pin in the bottom of the triangle. The part that doesn’t open.
  5. Pick a starting point on the foam circle and start pinning.
 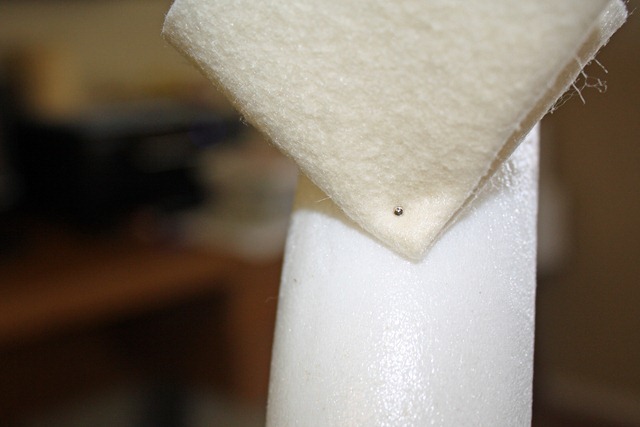 6. Pin felt circles 3/4 of the way around the wreath. I left the back open, so it would lay flat on the door.
 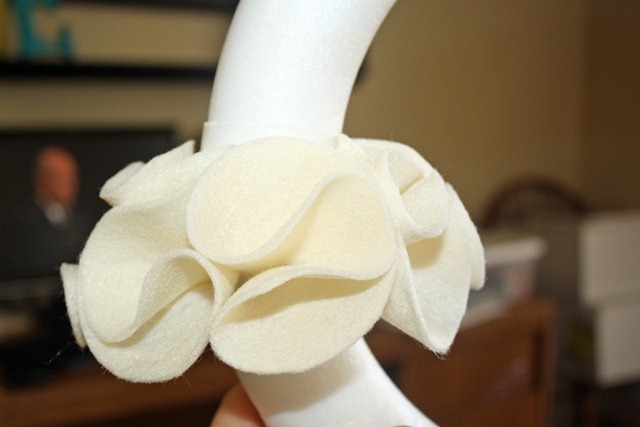 Here is half of the wreath done. (the other half is from Daylynn helping me)
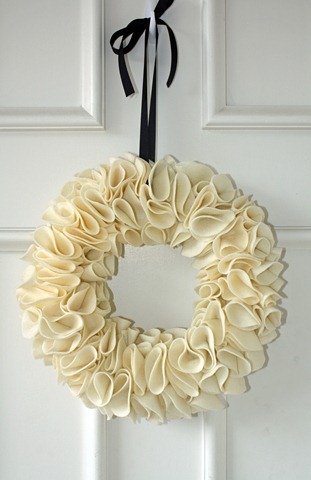
 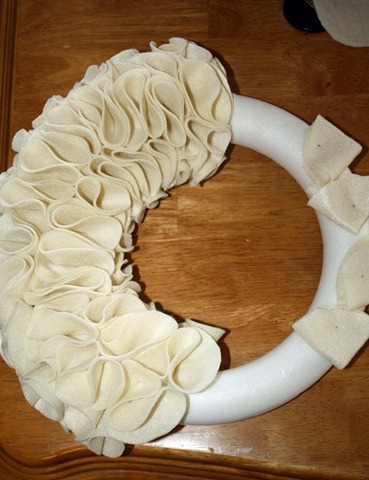 7. Add any color ribbon to the wreath and hang.
Saturday, October 1, 2011
Necklace T-Shirt…
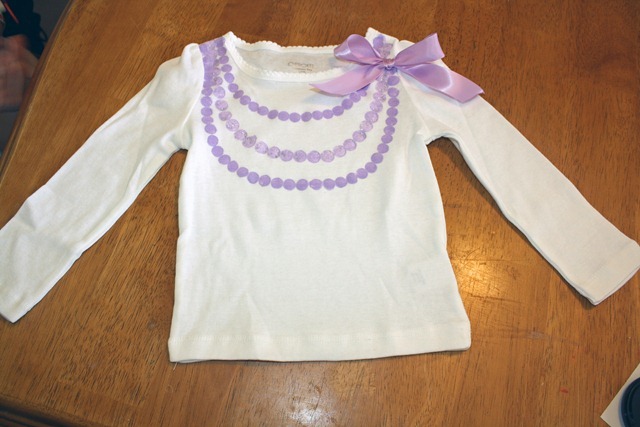
What I’m still crafting??? Shocking I know! The last year has been a little crazy with 2 little ones that my crafting has gone down the drain. I’m slowly working my way back into it, and looking forward to all the fun things I’m finding on Pinterest (My new favorite site). About a month ago, I made some of these t-shirts for an auction and decided to make a tutorial to go with it.
Materials:
t-shirt. I buy mine at Target for $5.00
Fabric Paint
Ribbon
2 paintbrushes – different sizes
cardboard to put between the shirt - I cut up a cereal box.
-Start by putting paint on a plate and putting the end of the paintbrush in the paint. Just make sure the bottom is covered (not the sides). It will make a much cleaner circle. 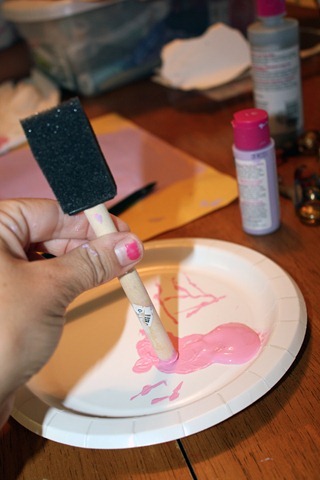 -Press end of paintbrush on the shirt, and continue until you have a “strand” of beads from one side of the shirt to the other. I usually just eyeball it.
 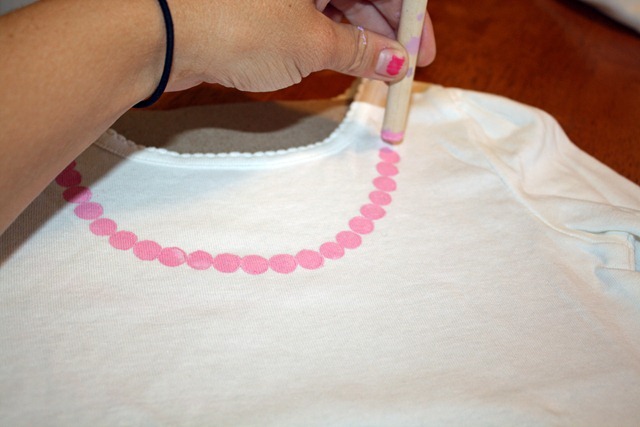 -The second strand I use the bigger paintbrush end, and add a glitter paint to the pink for some contrast.
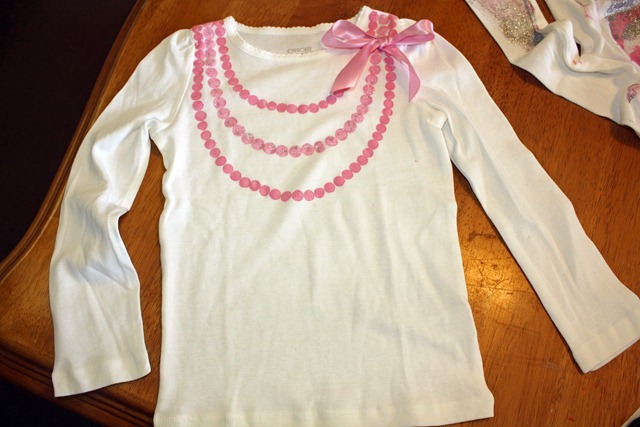
 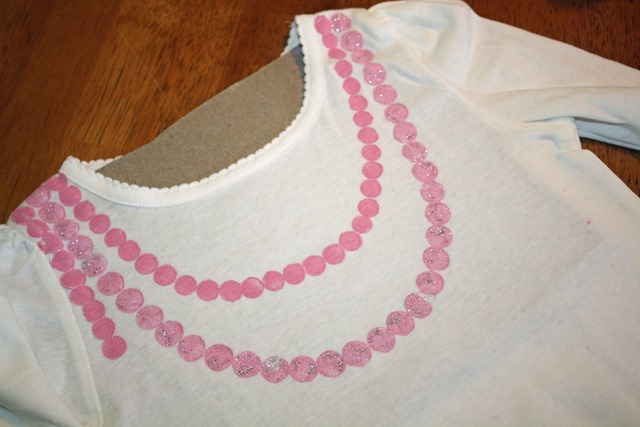 -Continue until you have three strands.
 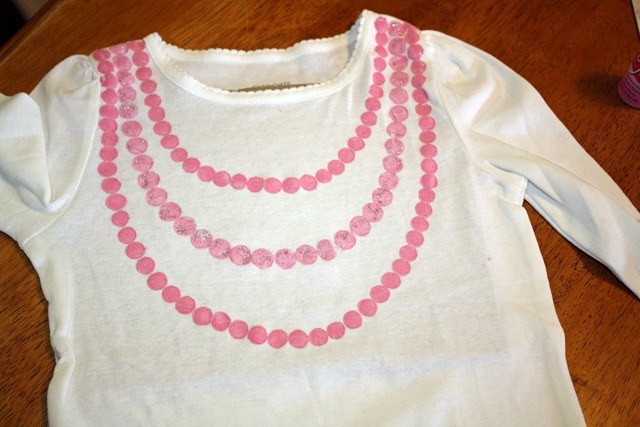 -Add a ribbon bow (or any embellishment would be cute). I just put it on whatever side needs it…usually the one I’m trying to hide a mistake.
 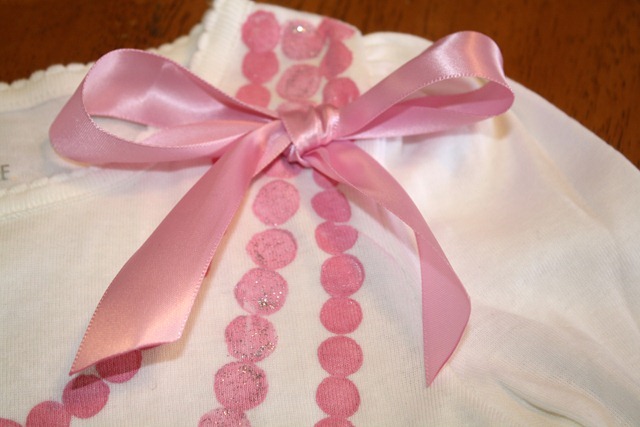 It’s done!
  And another in purple.